Willy Smoke is reader-supported. When you buy through links on our site, we may earn an affiliate commission.
If you are a first time smoker you are probably asking yourself, "How do I use this darn thing?". Since you made the great decision of buying an electric smoker you don't have to worry too much because working an electric smoker is very beginner friendly.
Now if you would have bought a gas smoker or charcoal smoker it would be a totally different story, those things can be a pain in the butt to operate.
Luckily for you there will be no need to keep a fire going and make sure it is maintaining the correct temperature throughout the whole smoke since the electric smokers will do all of that for you!
Before we get into how to actually use the electric smoker to smoke foods you are first going to want to cure, or season your smoker. This is the breaking-in process where you get rid of all of the oil, dust and other materials that are left over from the manufacturer. Once that is done with you can move on to actually smoking some food with it!
How-to Use an Electric Smoker: Step-by-Step
Step 1: The first thing you need to do is make sure that your electric smoker is in a safe place.
This means that it isn't indoors or in your garage. It needs to be in a place that is well ventilated(Outside) and is fire proof.
It is important to make sure that the smoker is setup on a flat surface that will be able to firmly sustain the weight of the smoker.
The best place for a smoker is going to be on a flat piece of concrete. This will allow for a safe and secure smoke every time.
Step 2: Next what you will want to do is add water to your water pan. The water pan is not necessary to smoke and you will find that it is about a 50/50 split between the people that use it and the people that don't.
It just depends on your personal preference while cooking, we suggest using it because the water pan helps keep the temperature stable and makes sure the grease dripping from the meat doesn't start any fires.
Step 3: After that your next step will be to add the wood chips to your smoker. This is a fairly easy process, especially if you have the Masterbuilt Smokehouse Electric Smoker since it has easy slide doors that will allow you to add more chips without opening the smokers doors.
Some people prefer wood chips while some prefer wood chunks, it all comes down to preference and you will have to just test both of them to find what works best for you.
So just fill up your tray with your favorite type of wood and you will want to add more wood chips once the first batch runs out.
Step 4: Next turn on your electric smoker to your desired cooking temperature WITHOUT THE MEAT and wait until it is reached. You can use the thermometer on your smoker or an external one that you bought separately, either way it will tell you the temperature inside the smoker.
Once the temperature is reached it doesn't mean you are ready to add your meat just yet, I like to wait until I get the smoke that I want.
The smoke that we look for is a clean smoke without any of the chemicals, you can tell you have a good smoke going when the smoke is thin blue and not white and puffy.
Also having your wood chips start to ash and nice coals start to form is the ideal time to add your meat.
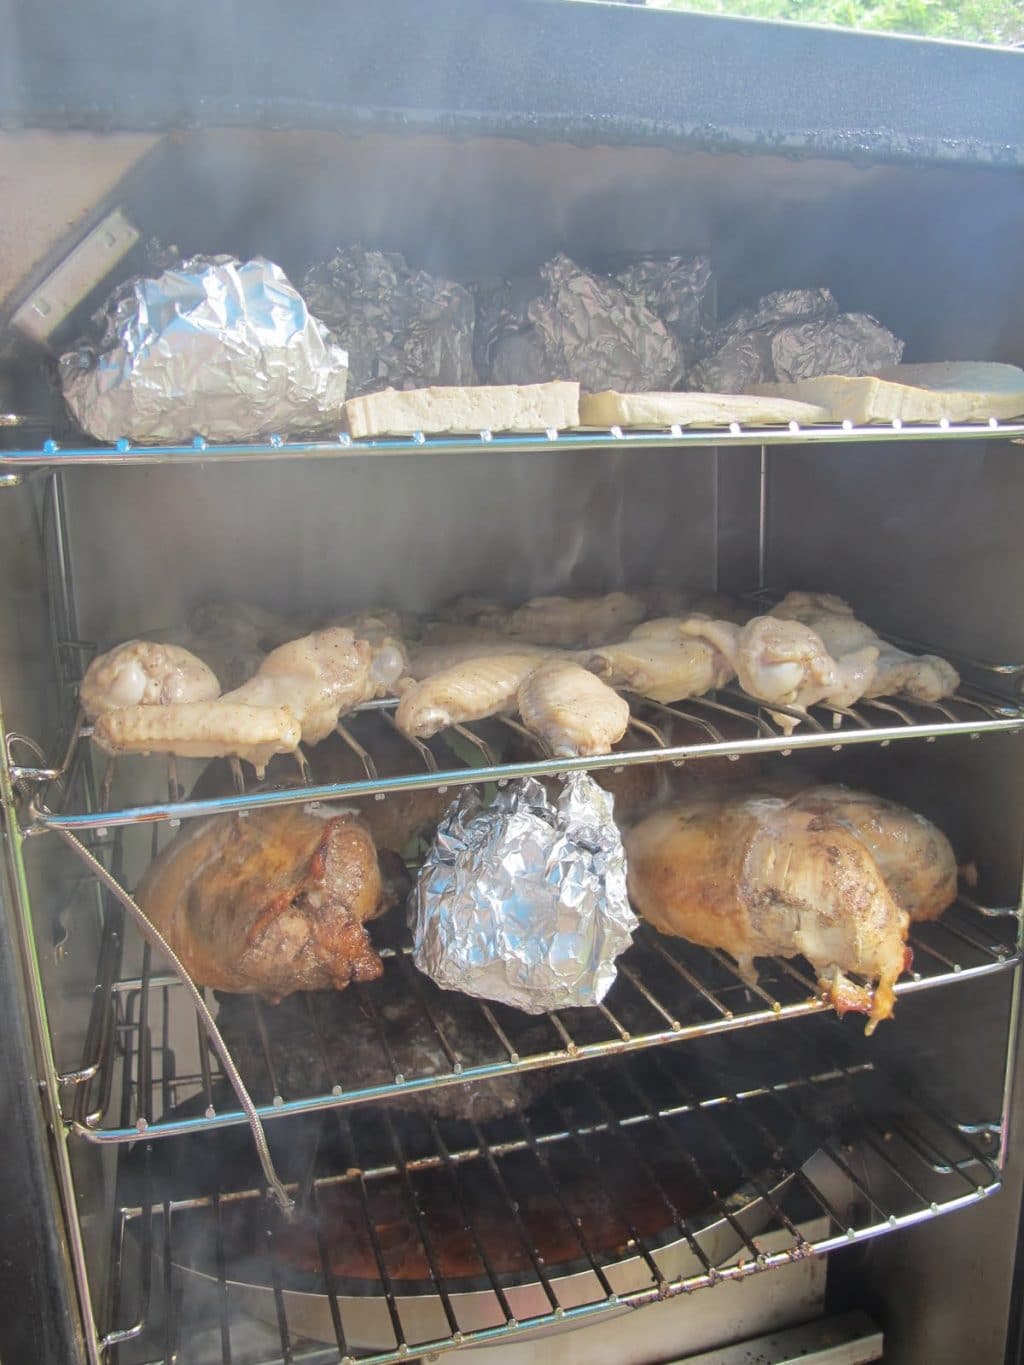
Step 5: After all of the above steps are completed you are now ready to get to the part we have all been waiting for, adding the meat! Open up the smokers door and add the meat to the racks inside.
Try to do this as quickly as possible to try and retain as much heat as possible. Close the doors and sit back, now all you have to do is sit and smell the aroma of smoked meat until the meat is finished cooking.
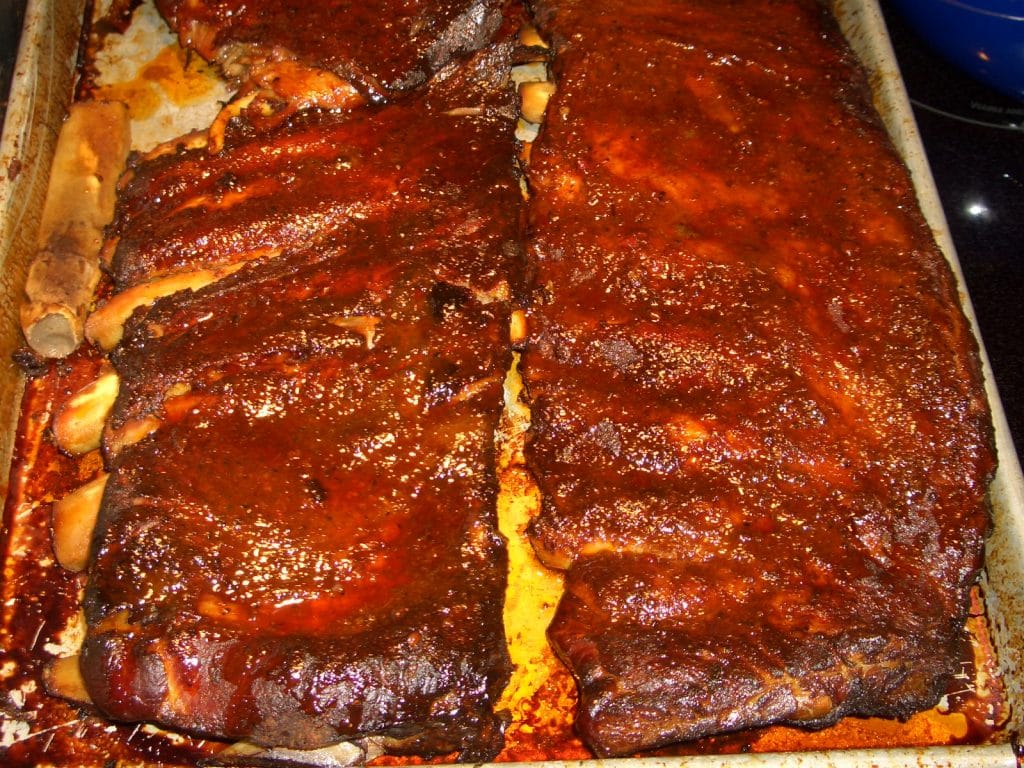
Step 6: After your meat is fully smoked you will want to take out your meat, if you have the Smokehouse Products Big Chief Front Load Smoker then you will easily be able to slide out your meat on its easy-slide racks which makes taking the meat out of the smoker effortless.
Step 7: The last step is to enjoy your perfectly smoked meats with your family and friends!
Looking for the Best Smoker Thermometer?
Be sure to check out our article on the best smoker thermometers
Conclusion
In seven easy steps you will have some tenderly smoked meats that you and your whole family will enjoy.
Smoking with an electric smoker is really an effortless task as the machine itself does most of the work.
You don't have to worry about maintaining the temperature like other types of smokers because the electric smokers does that for you.
Smoking meat, fish, ribs, nuts or anything else is made ridiculously easy with the electric smoker and it is almost impossible to make a bad batch of smoked foods.
Electric smokers get our highest praise and we recommend any other type of smoker.
They are ideal for a beginner as well as an expert smoker, all while being reliable as hell. Electric smokers get our full support.
Hopefully this step by step guide on how to use an electric smoker was useful and if you have any other tips or tricks that I didn't mention be sure to leave a comment below. We would love to add any tips that you may have to the article.